Fix Bad DVD Encodes with Handbrake on Mac Windows and Linux – 2023

Fix Bad DVD Encodes with Handbrake

Fix Bad DVD Encodes

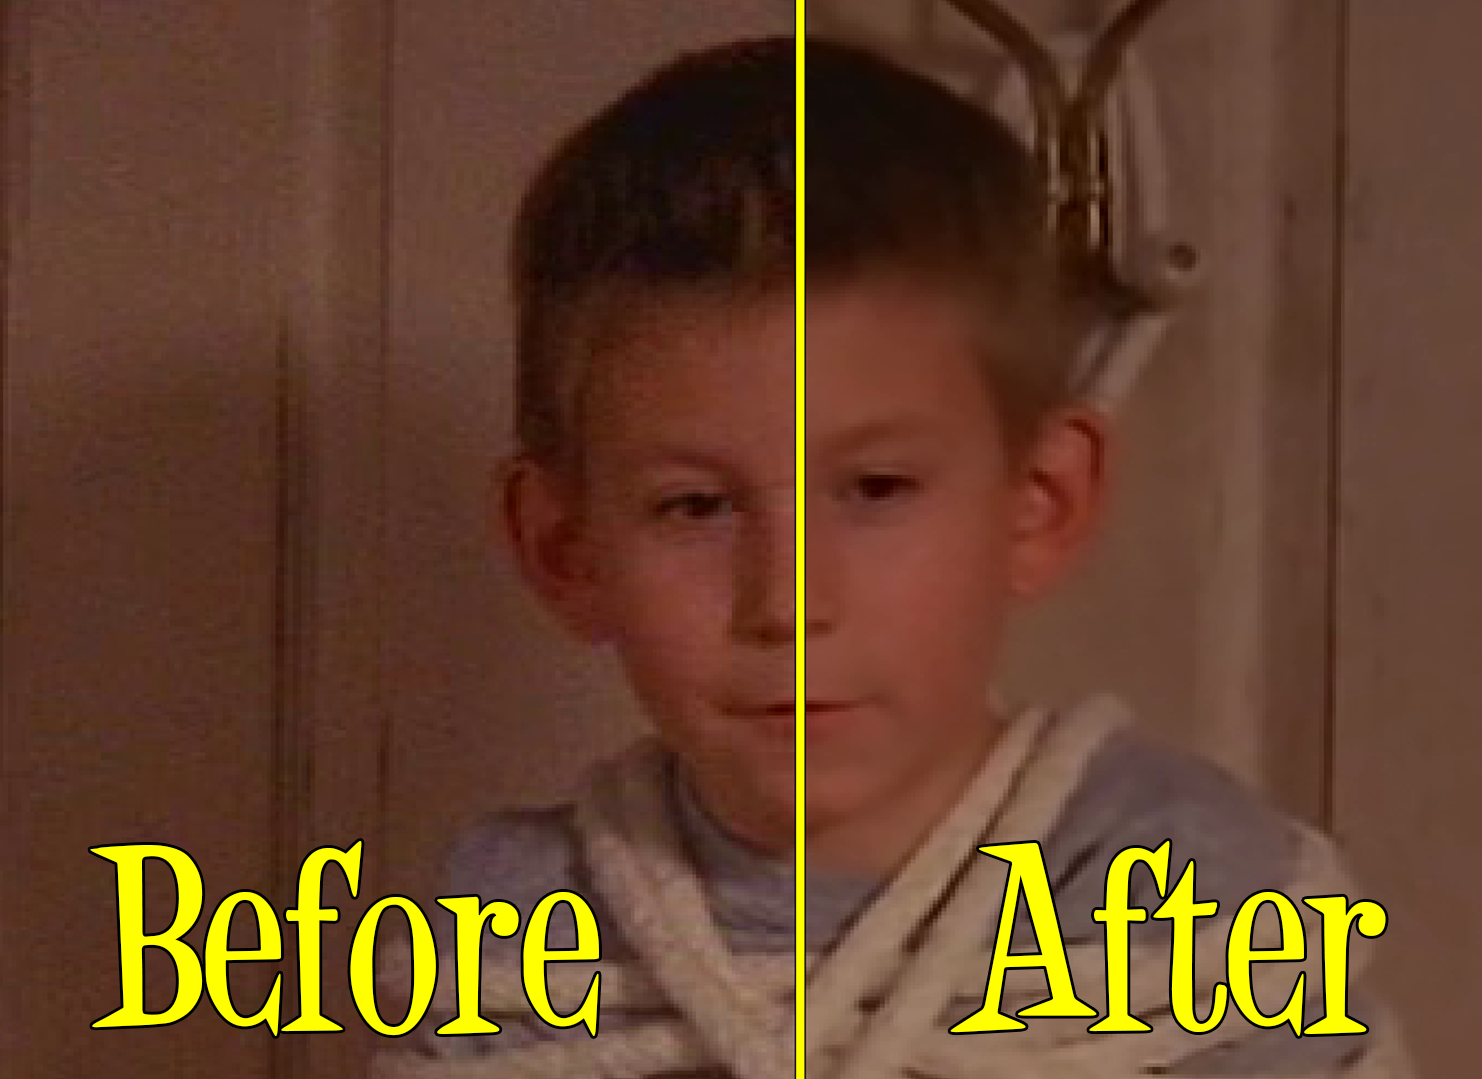
I recently purchased the box set of Malcolm In The Middle. I love this show! It was always so funny, and those kids, OMG what horrible kids they were. However, whilst the show was fantastic, the quality of the DVD video was horrible, especially when I viewed it on my new 4K UHD TV.

Seriously…WTF Hollywood?

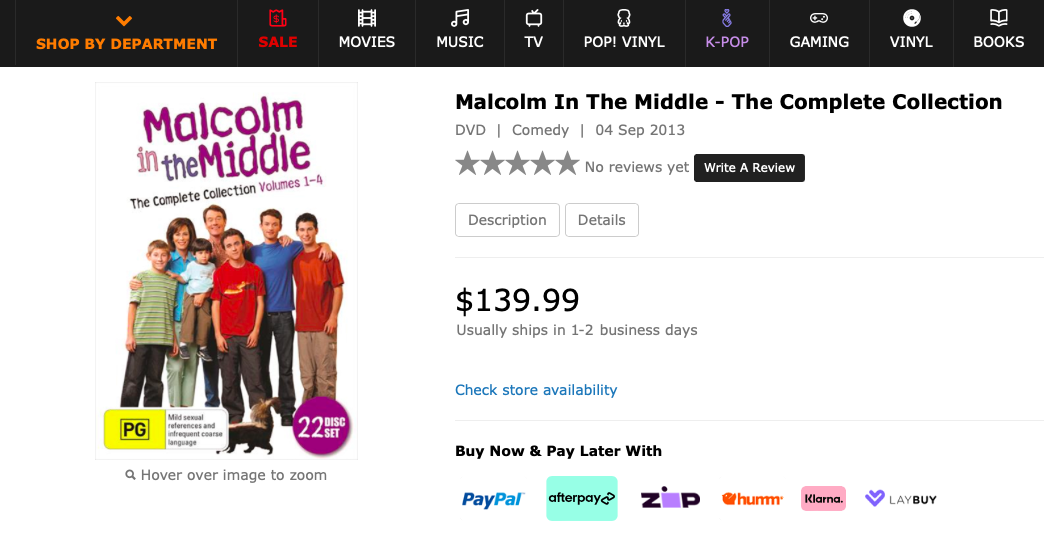
Fix Bad DVD Encodes - Malcolm Box Set

I paid $140 bucks for these discs, and there are more artefacts in the video than even Howard Carter can handle!
(A little Tutankhamun humour there)

Thankfully, we can fix this with a free program called Handbrake. At the time of writing the current version of Handbrake is v1.6.1. You can download your copy HERE.

Continue reading “Fix Bad DVD Encodes with Handbrake on Mac Windows and Linux – 2023”

How To Make Your Own Internet TV Show – Part 7 – How To Make A Lower Third

Lower Third Graphic
Part 7 – How To Make A Lower Third Overlay Graphic

In this tutorial I show you how you can make a lower third overlay graphic to use in your broadcast for titles. In the tutorial I use Adobe Photoshop, but if you don’t have that, you can download a free fully functional 30 day trial from Adobe.com, or if you want a fully functional entirely free high quality image editor you can download The Gimp free from gimp.org.

Note to Pros – These articles are aimed at beginners, who wish to spend little or no money until they have a grasp on the topic, and are hoping to learn how to get started quickly and easily, using equipment they most likely already have.

httpvh://youtu.be/2VJ1iOdudrE

You can download a free unrestricted trial copy of Vidblaster from vidblaster.com

vidblasterbuynow234x60
Part 1 – Selecting Video Switcher Production Software – The Heart of Vidcasting – VIEW HERE
Part 2 – Installing Vidblaster, Connecting Your Webcam, Switching and Interface Basics – VIEW HERE Part 3 – Adding Additional Cameras – VIEW HERE
Part 4 – Mixing Audio, Mics, and Avoiding Looping in Software – VIEW HERE
Part 5 – Desktop and Browser Capture – VIEW HERE
Part 6 – Connecting Guests Via Skype – VIEW HERE
Part 7 – How To Make A Lower Third Overlay – VIEW HERE
Part 8 – Adding flair with Effects, Soundboards and Chat Streams – COMING SOON!
Part 9 – Green Screen/Chroma Keying and Virtual Sets with iClone – COMING SOON!
Part 10 – Recording and Streaming – COMING SOON!

Easily view your 3D MPO Photographs Instantly on your Mac with ShowMe3D

showme3d-iconIf you have a camera capable of taking 3D photographs, and a Apple Computer, I have just found the simplest, quickest, easiest way to view your photos, It’s called ShowMe3D. Ever since I got my 3D camera I have been longing for a way to just unload my pics, and view them in 3D straight away, without having to jump through a million hoops, and this is it!

Open up App Store on your Mac and search for ShowMe3D, or click this link to Download ShowMe3D from the Mac App Store. It’s not free, but at just $4.99, it really is a bargain.

Once you have downloaded and installed ShowMe3D, open it up and you will see the main screen.

Showme3d ScreenNow, open the folder that contains the .mpo files (Multiple Picture Object) from your camera, and drag the pics you want to view onto the open window and put on your 3D glasses.

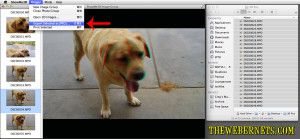
showme3d-loadedInstantly, you can view your 3D photos in 3D, and scroll through them in the same way you would using the “Preview” app. A feature of this program that I really like, is it also allows you to Export your .mpo files as Anaglyph Jpegs, so you can quickly and easily convert your .mpo’s to regular jpegs – cool huh!

Show Me 3D Save FeatureHere’s a Anaglyph 3D Jpeg I converted from an .mpo file using ShowMe3D – It’s my dog Benson.

Benson 3D