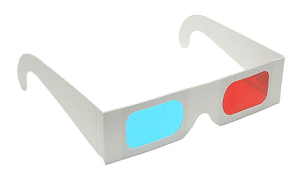
3D video is becoming popular again, and with the tools already available to most of us, its pretty easy to get started making your own 3D movies. There are a lot of programs available that will take your current 2D video and convert it to 3D with varying levels of success, but if you are interested in actually filming in 3D using a stereoscopic camera set up, this is the article for you.
Getting started making 3D can be a bit confusing for beginners. But if you have a PC and a couple of web cams, you are two thirds of the way there. It is really helpful if your webcams are the same to, and a lot of webcams are available in twin packs now as well (one for you, one for your friend), so these are a good place to start.
I had a security camera set up at the last place I lived, and two of the cameras are identical. For 3D filming it is critically important that both cameras are aligned, and looking at exactly the same view. I joined the two together by screwing them to a flat piece of steel at their mounting point, and they lined up quiet well.
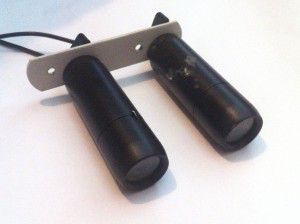 In order to achieve the 3D effect your cameras will need to be spaced about 65mm apart. You can technically use any two cameras, but it just makes it a lot easier if they are the same. Once your cameras are mounted together its time to connect them to your computer. If they are USB cams just plug them in, but in my case I had to use a Pinnacle Dazzle for the left camera, and a Easy Cap USB interface I got from Ebay for the right camera, in order to be able to use them. My cameras have a coaxial cable output, and the Dazzle/Easy Cap act like adapters that allow me to plug the cams into them, then they plug into the computers USB port. Once you are all plugged in, the next step is to download a program that will let you view your cams, align them, and eventually record your video. I looked at a lot of programs, and there is only one that gets my thumbs up, and that is Stereoscopic Multiplexer. The only down side is that it doesn’t record audio, so you will need to use a stand alone audio recorder to capture the sound, and then ad it back in processing later. You can download the program and try it out with no restrictions other than a watermark in the image. If you really get the hang of things and want to buy it, you can, and the watermark will be removed. But if you just want to try this out and experiment, you can download it and test it at no cost.
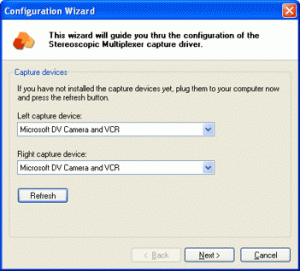
Once Stereoscopic Multiplexer is installed, open it up, and the configuration wizard starts. This is where you can tell it which camera is going to be the left camera, and which is going to be the right camera.
 The next step is to select a capture format.
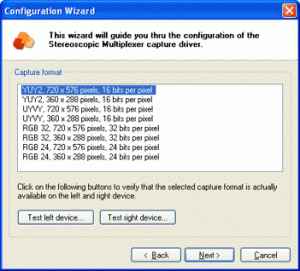 This is basically telling the program the format and quality your webcams can deliver. In my case, my cameras are PAL, and the image size they deliver is 720 pixels wide by 576 pixels high, so I use YUY2 720×576 pixels. The next few windows are OK to leave at the default settings, so keep clicking OK until you get to the preview window. If everything has configured correctly, you will now see a preview window of what your cameras see.
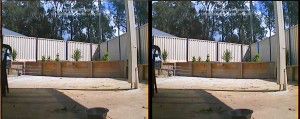 As you can see from my preview, I spent a lot of time making sure the image from the left camera is identical to the right. The pole on the right of the view is the same distance from the edge of the frame in both, as is the positioning of the back of the chair on the left, and the doggy bowl at the bottom.
Now that everything is lined up, its time to start recording. When you click the red record button another window will appear asking you how you want the video compressed.
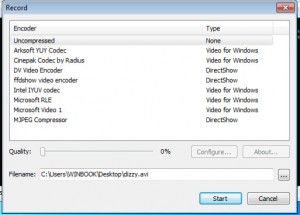
If you have a fast processor the Cinepak Codec by Radius seems to be pretty good, but in my case I have to record uncompressed. Its a lot faster, but the file sizes are huge. I use Ojosoft Total Converter to compress the videos once I have finished shooting, so the file sizes are more manageable. Make sure you have your preferred compression method highlighted, and you have given your file a name and a “save to” location before you try to click start, otherwise it wont work. Below is a sample of the raw video footage I captured.
Now it’s time to process the raw video – Stay tuned for Part Two!

