UPDATE – **I HAVE TESTED THIS METHOD WITH OS X MAVERICKS AND IT WORKS GREAT!**
This tutorial was written using Mountain Lion as an example, but it works for Mavericks as well – just follow the same process
Just like OS X Lion, it is really important to save your OS X Mountain Lion and Mavericks “Install File” BEFORE you install it. Without it, you can not make an install disk, and it is deleted automatically once you install your new operating system.
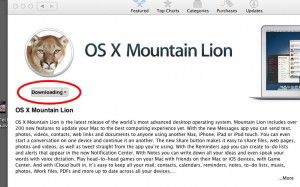
Once you have purchased Mountain Lion or Mavericks, your purchase/price button will turn into a “downloading” button.
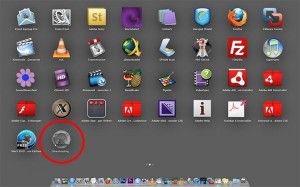
 A short time after, your launchpad may spring open and show you the downloads progress.
 You can leave it open and watch the progress if you want. Close it up when your finished watching, or when the file has completely downloaded.
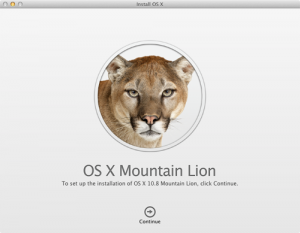
**CRITICAL** – When the file has finished downloading, a window will pop up and ask you if you want to go ahead and install the new software. QUIT THE INSTALLER IMMEDIATELY! This can be done by clicking the file menu and selecting the “Quit” option.

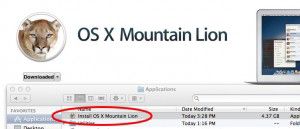
Don’t worry, you are not going to loose the program you just bought, you are just telling your computer that you want to install later. Once you have closed out of the installer, open a new finder window, then open your “Applications” folder. Inside this folder you will see your OS X Mountain Lion or Mavericks Install File.
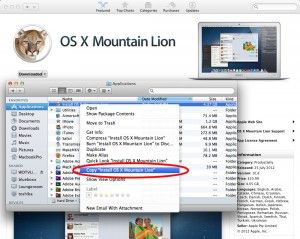
 Right click and “Copy” the installer file, then “Paste” it onto your desktop.
 Once the file finishes copying to the desktop, you can go back into your applications folder and double click and run the installer, if you are ready to install your update.
If you want to make a bootable install DVD disk or a USB Key, the easiest way to do this is with Disk Maker X (Formerly called Lion Disk Maker).
 Go to the Disk Maker X web site HERE and download the latest version of the program. Once downloaded, unzip and run the program.
TO MAKE A DVD DISK:
With Disk Maker X open, select Mountain Lion to make a Mountain Lion DVD, Or Mavericks to make a Mavericks Install DVD.
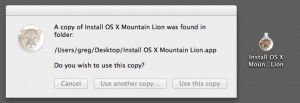
 Once you select your Operating System, the program will try to locate the install program automatically. It doesn’t matter if it uses the one in your Applications folder, or the one on your desktop. In my case, it found the one on my desktop.
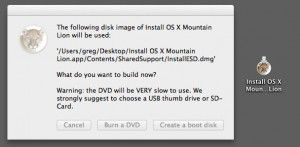
 The next step is to tell Disk Maker X if you want to make a DVD or a USB key. Keep in mind, if you want to make a DVD you will need a 8.5gb Dual Layer DVD, and a Dual Layer DVD Burner, as the installer will not fit on a single layer 4.7gb DVD.
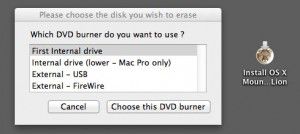
 Click “Burn A DVD”. Disk Maker X will ask you to select your Burner.
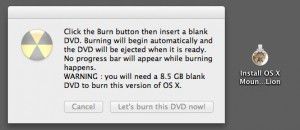
 You will now be prompted to insert a disk, and begin the burning process.

TO MAKE A USB KEY:
With Disk Maker X open, select Mountain Lion to make a Mountain Lion USB or Mavericks to make a Mavericks install USB key.
 Once you select your operating system, the program will try to locate the install program automatically. It doesn’t matter if it uses the one in your Applications folder, or the one on your desktop. In my case, it found the one on my desktop.
 The next step is to tell Disk Maker X if you want to make a DVD or a USB key. Keep in mind, if you want to make a USB Key you will need a 8gb thumb drive, due to the size of the installer. Click “Create a Boot Disk”.
 Next, Disk Maker X will ask you about your Thumb Drive. In keeping with the recommendations of the makers of the program, we will select “8gb USB Thumb Drive”.
(My understanding is, that this option will completely erase the entire USB drive, and ALL existing data will be over-written. If you have a larger drive, which is divided up into partitions, and you do not want to erase the whole drive, use the “Another kind of disk” option. IF this is incorrect, or there is also another reason, please reply in comments.)

You will now be asked to confirm your drive selection, and its location.
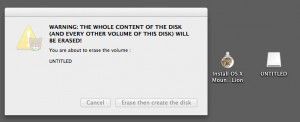
 One last warning! Your thumb drive will now be erased COMPLETELY!
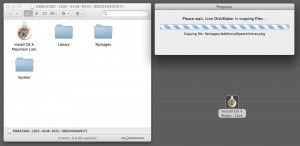
 Disk Maker X will now begin crunching files to make your USB Installer.
 During this process, particularly towards the end of the process, a lot of new windows and “Get Info” dialogues will pop up, and disappear. This is normal. This is just your computer acknowledging the creation and mounting of new drives and volumes.
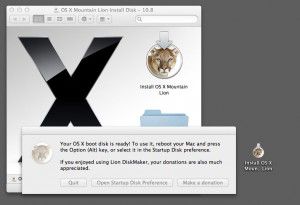
Once it is all completed, you will hear Homer yelling “WooHoo!” and see your new USB drive ready to go!


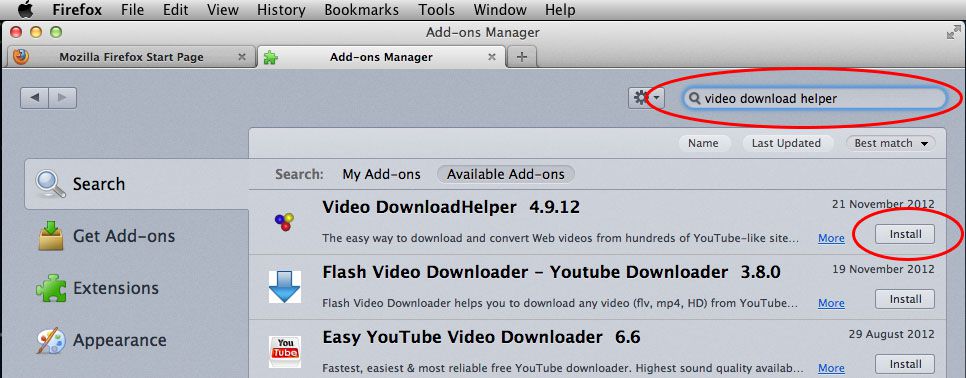
![]() From time to time we all come across videos on Youtube that we really want to download and keep on our computers so we can watch at anytime, or to re-encode so we can watch and keep them on our phones or ipods and ipads to. A simple way to download videos is with Video Download Helper.
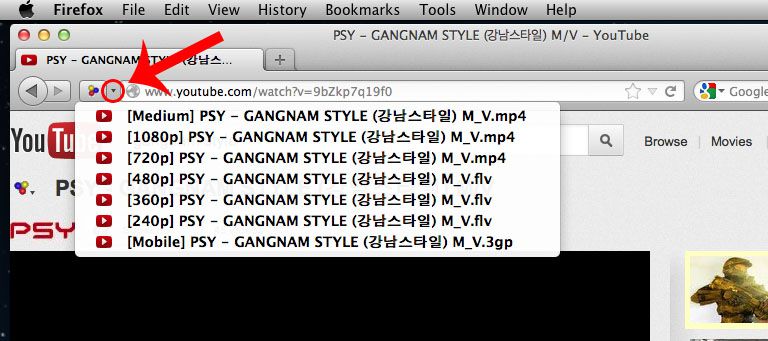
From time to time we all come across videos on Youtube that we really want to download and keep on our computers so we can watch at anytime, or to re-encode so we can watch and keep them on our phones or ipods and ipads to. A simple way to download videos is with Video Download Helper.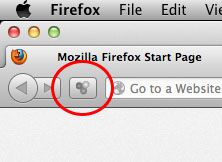 This means you are all set to go! Now when you wake up at 2am and worry that Gangnam Style is going to be taken down and you will never see it again, you can open it up in Youtube, click the little black upside down triangle next to the colored logo (when its gray out it means there is nothing to download on the page – when its colored, there is a file it can retrieve for you) and select the quality of the file you want to download.
