**NOTE** – This article was written by Loren Perry many years ago, for another web site which unfortunately is no longer available. I was very glad to have found the article on an old floppy disc recently, and post it here now for the benefit of all.
Please visit Loren Perry and buy the best Ship Model Photo Etch parts at – Gold Medal Models
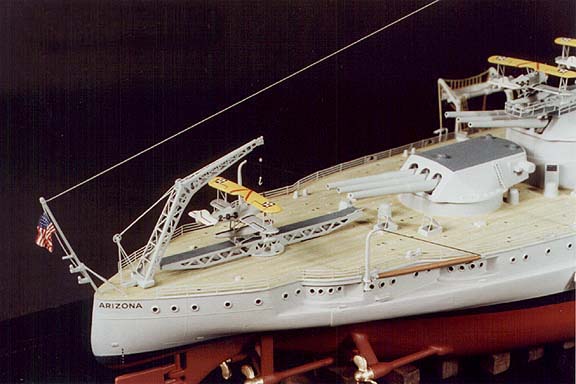
 Wooden deck on the fantail of Loren Perry’s 1934 Arizona, built from the Revell 1/429 kit
* 2. Streak the deck with Driftwood.
* 3. Streak the deck with Walnut.
* 4. Repeat steps 2 and 3 as necessary.
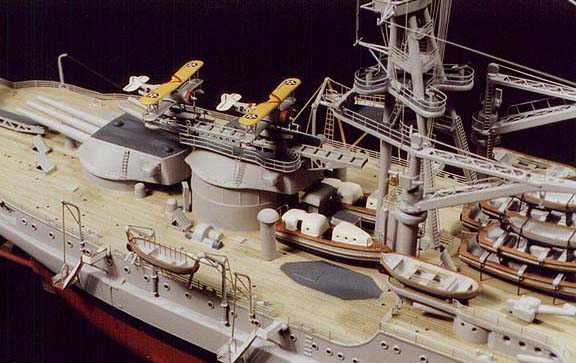
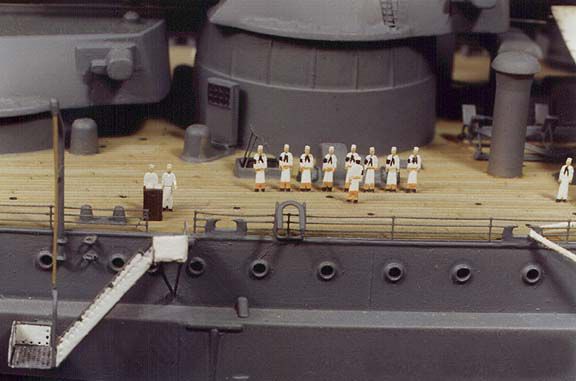
This method is, fortunately, very simple and very forgiving. First one must airbrush the deck with Mud and allow it to dry at least 24 hours. In fact, this will be the very first color painted on the entire model – the grays, blacks, and other colors come after the deck has been prepared first. Once the Mud paint has dried, select your smallest tipped brush and open the bottle of Driftwood. You then dip the brush into the stain and then wipe the tip of the brush lightly over a paper towel until only a small amount of wet stain remains in the bristles. Now use the brush to streak the stain in narrow strips lengthwise along the deck (or parallel to the planking). Use random strokes until the deck is evenly streaked over is entire surface. When finished (the stain dries very quickly), open the Walnut stain and repeat this step. If the deck appears too dark, repeat the streaking process with the Driftwood until the deck starts to lighten up. If you want the deck to return more to the shade of the Mud paint, streak the deck with Mud in the same manner as the stain. By alternating back and forth between these three colors, you’ll find you have great control over the final appearance of the model’s wooden decks. And so long as you keep the stains and paint nicely thinned, there will be no visible buildup of pigment to obscure detail. And remember to keep the brush strokes about the width of a plank, or no more than two planks.
Some advantages of this technique: A. no great artisitic skill is necessary, only the ability to apply random paint streaks in parallel lines; B. a damaged area can easily be blended into the rest of the deck by applying more strokes in alternating colors as above; C. the process goes quickly – one Arizona model had its deck fully painted and streaked in about an hour (after the original Mud application had dried, of course.) A tip: purchase an inexpensive kit to use as your “guinea pig”. Use this kit’s parts to test your technique and refine it before you move onto your main project. You’ll find, as I did, that the final appearance of your model’s planked deck looks exceptionally convincing, both in photographs and to the viewer seeing it on display.


